Adobe PDF is by far the best file format to supply your artwork. Avoid common print problems by saving your PDF specifically for Eureka’s press settings.
PDF Tools and Instructions
The premium tool for creating print-ready PDF files, is Adobe Acrobat Pro, which is also available to users of Adobe Creative Cloud software.
Don't have access to Adobe Acrobat?
We recommend using the built-in Save to PDF for Mac users, and for Windows users, PrimoPDF which is a free download. This will install a printer on your computer called PrimoPDF.
If you are using Primo PDF, skips the other steps outlined on this page, and follow these instructions:
Once downloaded and installed, print your file to PrimoPDF from whichever application you are using, and choose the Press Quality settings.
Step 1:
Download and install PDF Presets
Download the Be Effective PDF Preset for Adobe, and expand the ZIP file to your desktop. This preset will save PDF’s with crop marks, bleed and colour profiles.
Adobe Illustrator Edit > Adobe PDF Presets > Import
Adobe Photoshop Edit > Adobe PDF Presets > Load
Select the job option which you downloaded on your desktop, named Be Effective Settings.joboptions
This is a standard export preset, suitable for full colour process and full colour process with spot colours, based on the Ghent Workgroup guidelines www.gwg.org
Click on these thumbnails to see larger screenshots
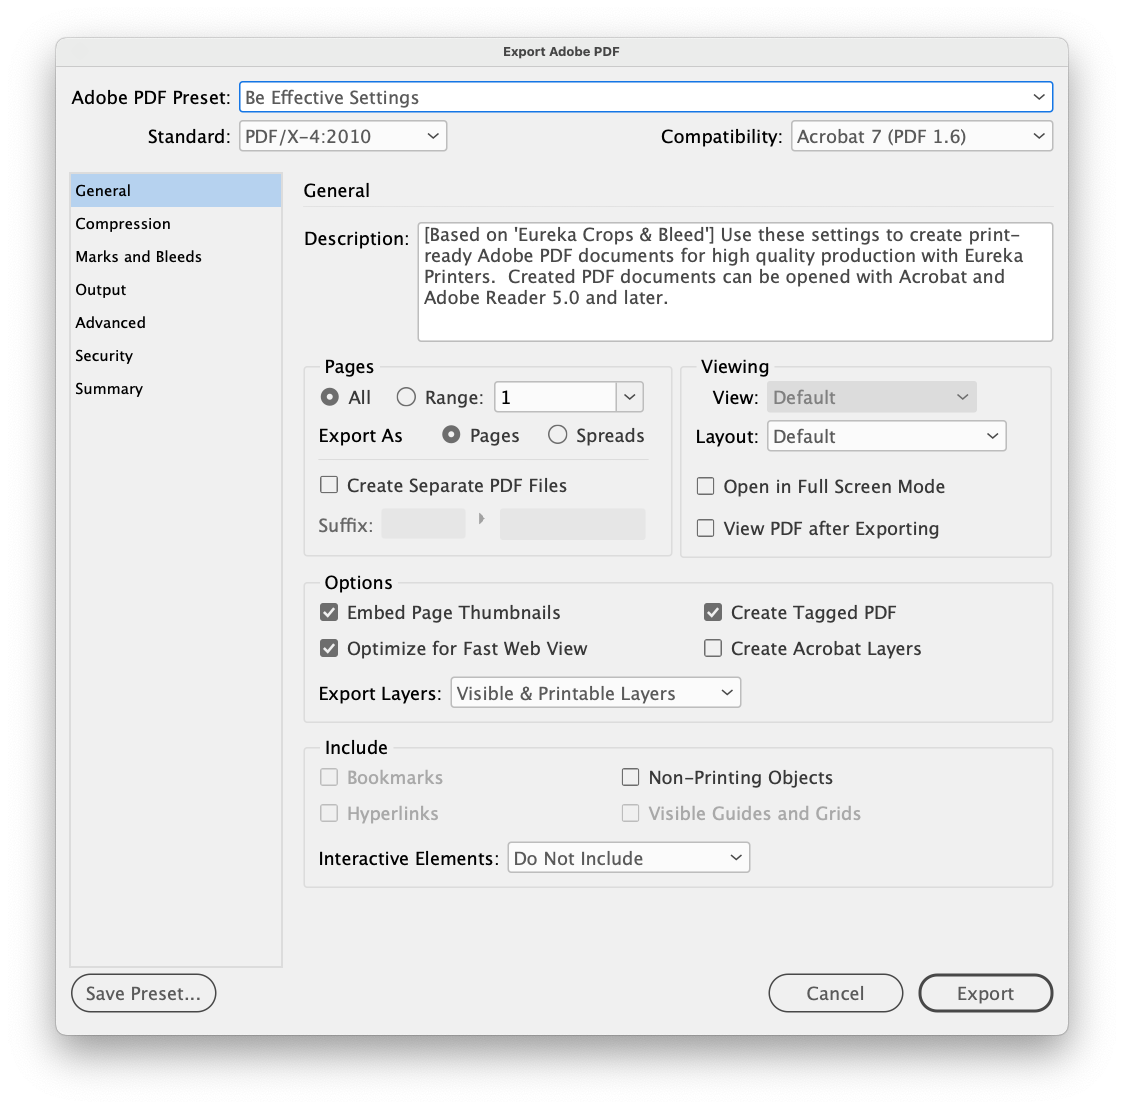
PDF Export General Options
Step 2: Exporting a PDF
Adobe InDesign
Go to File > Export > Save as Adobe PDF (Print)
Choose Be Effective Settings in the Adobe PDF Preset dropdown at the top.
In the Pages section, select ‘all’ or indicate specific pages. Make sure you export as pages and not as spreads.
Press Export to successfully save your artwork for print production.
Adobe Illustrator / Photoshop
Go to File > Save as
Choose Adobe PDF or Photoshop PDF as the file format.
Select Be Effective Settings in the Adobe PDF Preset dropdown at the top.
Press Save PDF to successfully save your artwork for print production.